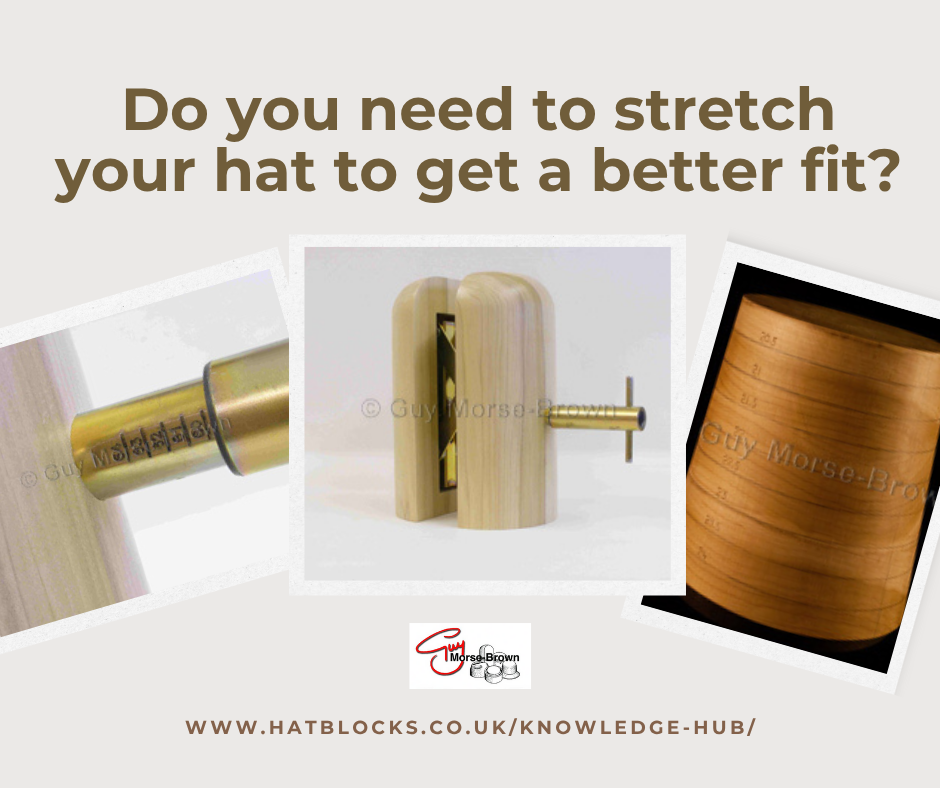
Do you need to stretch your hat to get a better fit? You’ve got a finished hat that your customer has tried on and it’s a little tight. Or, maybe you have a customer who wants a particular style but the block you own is typically in a smaller size?! There are a couple of options available to you. The Hat Stretcher can be the perfect solution for this job.
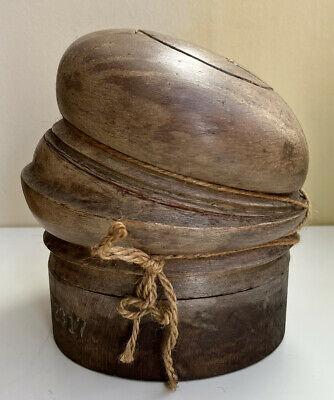
Stretch your hat using a Hat Stretcher
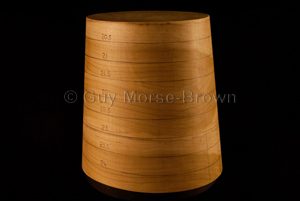
It can be used for stretching separate crowns and brims during the making of a hat or for stretching completed hats. Our Hat Stretcher (pictured) has a unique mechanism inside that ensures that the two halves always remain parallel. An engraved graduated scale shows the hat size in centimetres so you will be able to accurately read the head size measurement that you are stretching to. This hat stretcher is designed to provide a smooth and efficient stretching action. You will be able to accurately read the head size measurement that you are stretching to, with no more guess work due to the top half moving less than the bottom!
The method of use will depend on the type of material used in the hat or hat components, and in the case of complete hats, also on the means of construction.

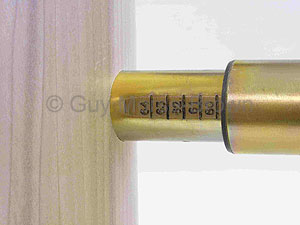
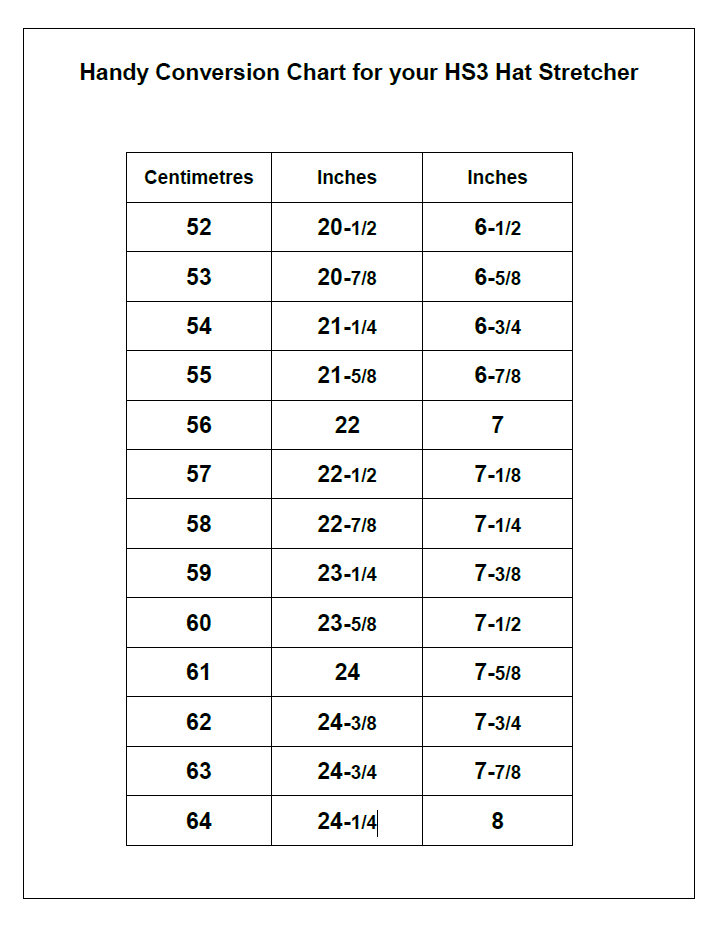
The graduated scale is engraved on the stretcher shows the head size in centimetres. A handy conversion chart is included below for the two types of inch sizing. The size range is from 52cm (20 1/2 inches) to 64cm (24 3/16 inches).
Bear in mind that some headband ribbons have very little ‘give’ and it may be advisable to remove such before stretching. Also, machine stitching along the line of the headband may also make stretching more difficult.
Stretching Felt Hats
Felt hats should be stretched dry to a slightly larger size than required and then left overnight on the stretcher. The felt will shrink back to the required size on removal from the stretcher. A light whisk of steam may help on some felts.
Stretching Straw and Sinamay Hats
For straw and sinamay, slightly dampen the headband area and allow to dry on the stretcher. Drying can be speeded up by careful use of a hair dryer.
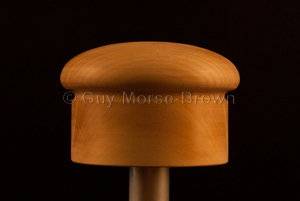
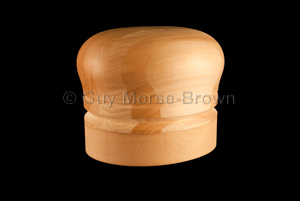
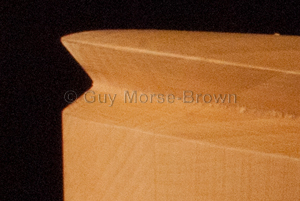
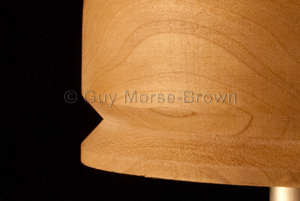
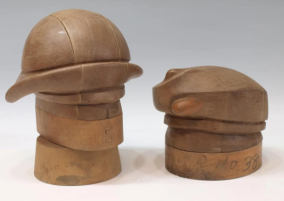
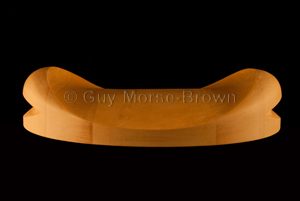
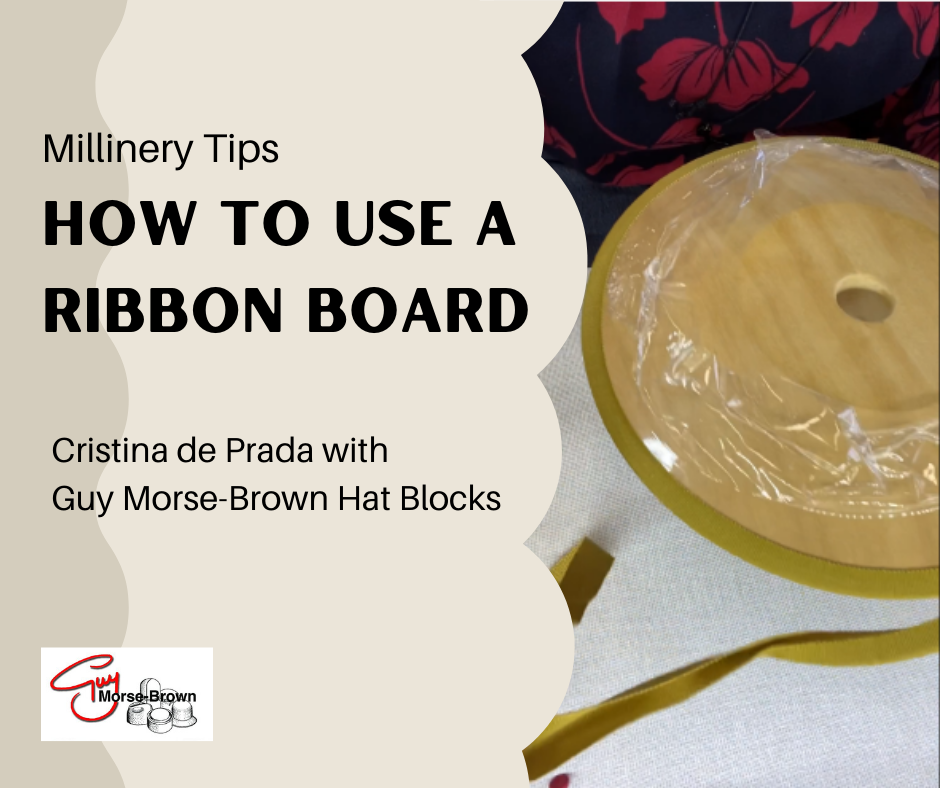
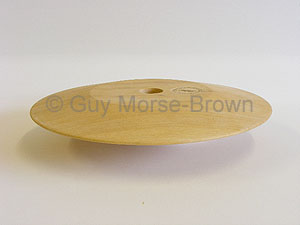
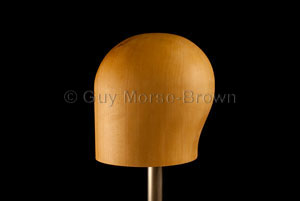
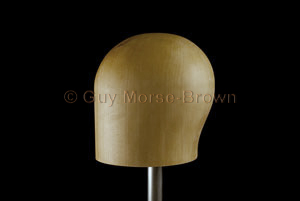
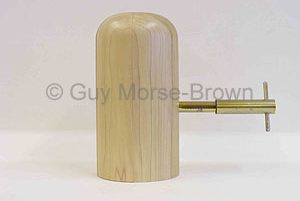
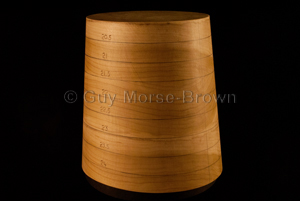
Stretch your hat using a Stretcher Block
Another way to stretch a brim’s head size during production is to use a Stretcher Block (pictured below). Simply pull the blocked brim over the stretcher block and down to the size required. As with the Hat Stretcher, when stretching felts stretch dry to half an inch larger than the size required and for straws and sinamays stretch to the same size required.
Things to consider…
If you are stretching a hat you will be alter the shape in some measure. If you try and stretch a hat more than a head size bigger then you will likely end up distorting the original overall shape, so try to be realistic about what you want to achieve!
We’ll be answering more of your questions soon! In the meantime if you’re looking for inspiration and millinery projects why not head over to HATalk? With this code GMB20 claim 20% off a new HATalk Subscription.
If you’re hoping to delve deeper and improve your skills then check out Hatcourses.com. There you will find a list of millinery and hat-making courses around the world and available teachers.