How do you use a milliner’s ribbon board?
A ribbon board is a must-have piece of equipment for the millinery workroom. It is primarily used for shaping Petersham ribbon or bias fabric so that it will fit round the edge of a brim without wrinkling. This allows you to make perfect bindings for your hats every time! In this blog post you will learn how to use a milliner’s ribbon board.
In the video below, you will see milliner Cristina de Prada demonstrate this technique for you. Check out Cristina de Prada on Instagram and Facebook.
Instructions on how to use the milliner’s ribbon board.
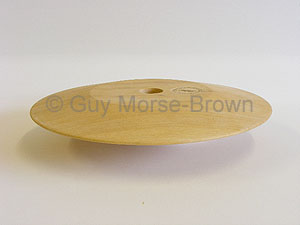 Firstly make a small cut along the centre of the ribbon (about a centimetre long). Secondly, spray the ribbon with water to dampen it. Once wet, secure the ribbon over the edge of the ribbon board and pin it into place with two pins angled towards the centre of the board.
Next, wrap the ribbon around the edge of the board continuously. Make the ribbon taut as you go around until your required length is formed. Then secure the end with pins as before. You should allow a little extra length so that you can cut off the two ends marked by the pins.
Lastly, when the ribbons are dry unpin and the binding from the board. Now you’re ready to sew your binding on your hat brim. The easiest way to hold the board is on your lap while seated.
We’ll be answering more of your questions soon, in the meantime if you’re looking for inspiration and millinery projects why not head over to HATalk? With this code GMB20 claim 20% off a new HATalk Subscription.
If you’re hoping to delve deeper and improve your skills then check out Hatcourses.com – which houses a list of millinery and hat making courses around the world and available teachers.