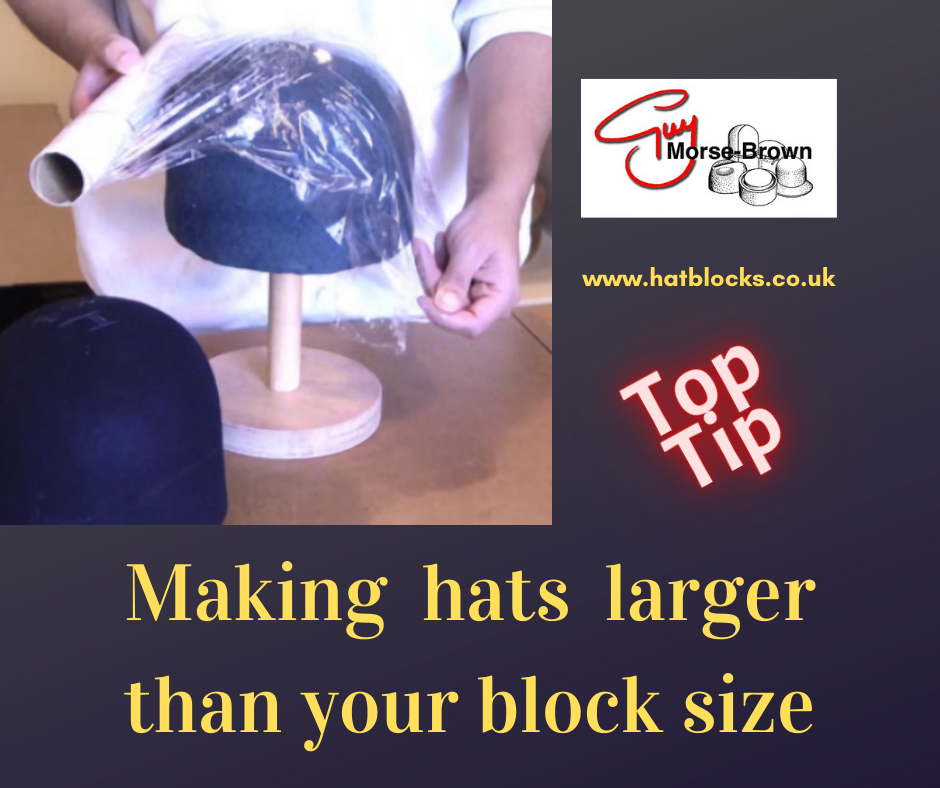
Can I make a hat bigger than the head size of my hat blocks?
Sometimes you get asked to make a hat for a head that is bigger than the blocks you own. To make hats in a larger size is possible. You can do this by ‘double blocking’.
Double Blocking a Crown Block
Firstly, you need either an old felt capeline or an old felt hat with a wide brim. If using an old felt hat, strip off any trimming, inner headbands, and wiring. TIP: If it’s marked with glue patches then turn it inside out before proceeding.
Next, get the crown block you’re going to use and cover with clingfilm/saran wrap just as you would if blocking a hat.
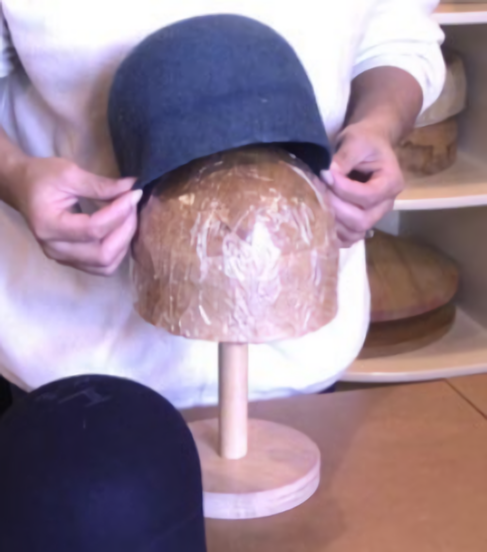
Take the old hat or felt capeline and block it over the prepared block. Leave it to dry and trim off the excess felt. Before removing it from the block mark the felt Centre Front (CF) and Back CB) with a Chinagraph pencil and a block reference.

If you want to make the block larger still mark the first felt #1 and cover with clingfilm/saran wrap as before. Now block another old felt capeline or hat over the top and allow it to dry. Trim any excess off as before and mark CF and CB as above and #2 to remind you.
You can do this up to three times, but the definition of the shape gets lost, depending on how much shape and what features are already in the block. Also, the padding becomes too thick to hold pins in the wooden block beneath, during blocking. We wouldn’t recommend using this technique on trilby or fedora crowns with dimples for this reason.
Finally, block your new capeline over the clingfilm/saran wrap covered padded block in the usual way.
**The felts you have may vary in thickness but as a useful guide for every 1mm thickness of felt padding, you will add ¼” to the head size.**
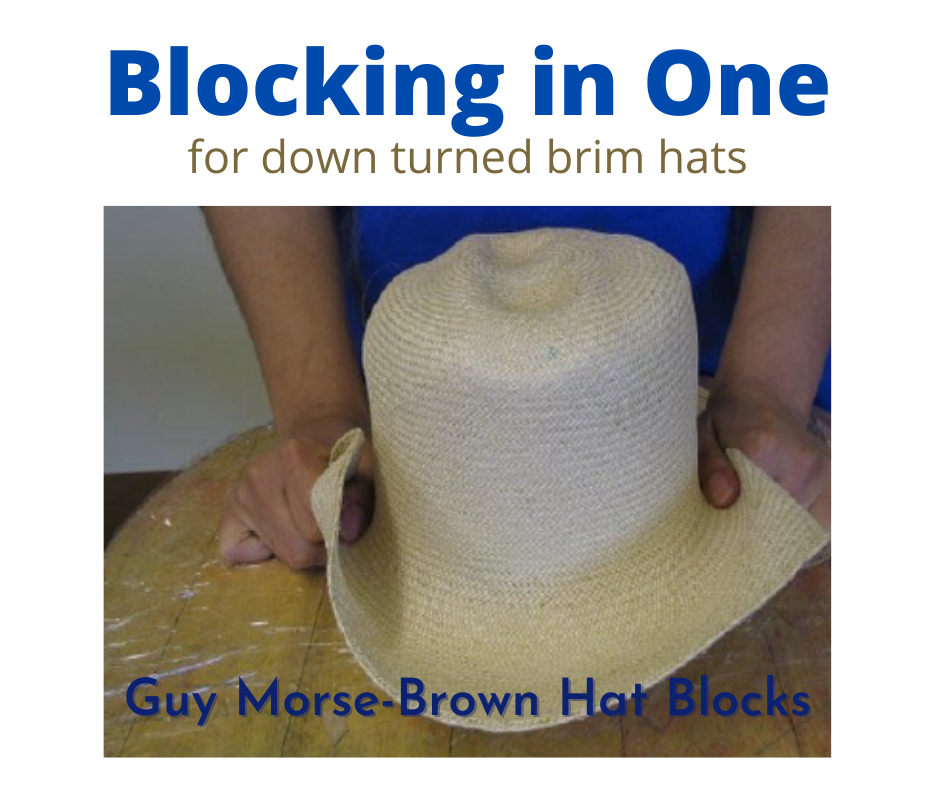
Double Blocking a Down-turned Brim Block
To increase the size of a down-turned brim block you can use a larger collar size than your brim. Fix the larger collar to the brim, cover in clingfilm/saran wrap and block as usual.

How do I increase the size of an Up-turned Brim Block?
You cannot make an up-turned brim block bigger in head size. You can overcome this by stretching the brim after you have taken it off the block. Dampen the fabric at the headband and stretch it gently over a collar of the required size, or you can use a graded Stretcher Block if you have one.

We’ll be answering more of your questions soon, in the meantime if you’re looking for inspiration and millinery projects why not head over to HATalk? With this code GMB20 claim 20% off a new HATalk Subscription.
If you’re hoping to delve deeper and improve your skills then check out Hatcourses.com – which houses a list of millinery and hat making courses around the world and available teachers.